# Lesson 19 Vue.js Events
# Vue.js Events
In lesson 11 we learned about html events. Mouse click event, mousedown, mouseover, mouseout, dblclick, ...
- v- is how most vue.js directives start
- v-on:click="javascript"
- v-on: -> this part says we want to add an event
- :click -> this parameter tells vue.js what the event is
- :input -> this parameter can instead tell it to fire on each keyboard input
# Click Event
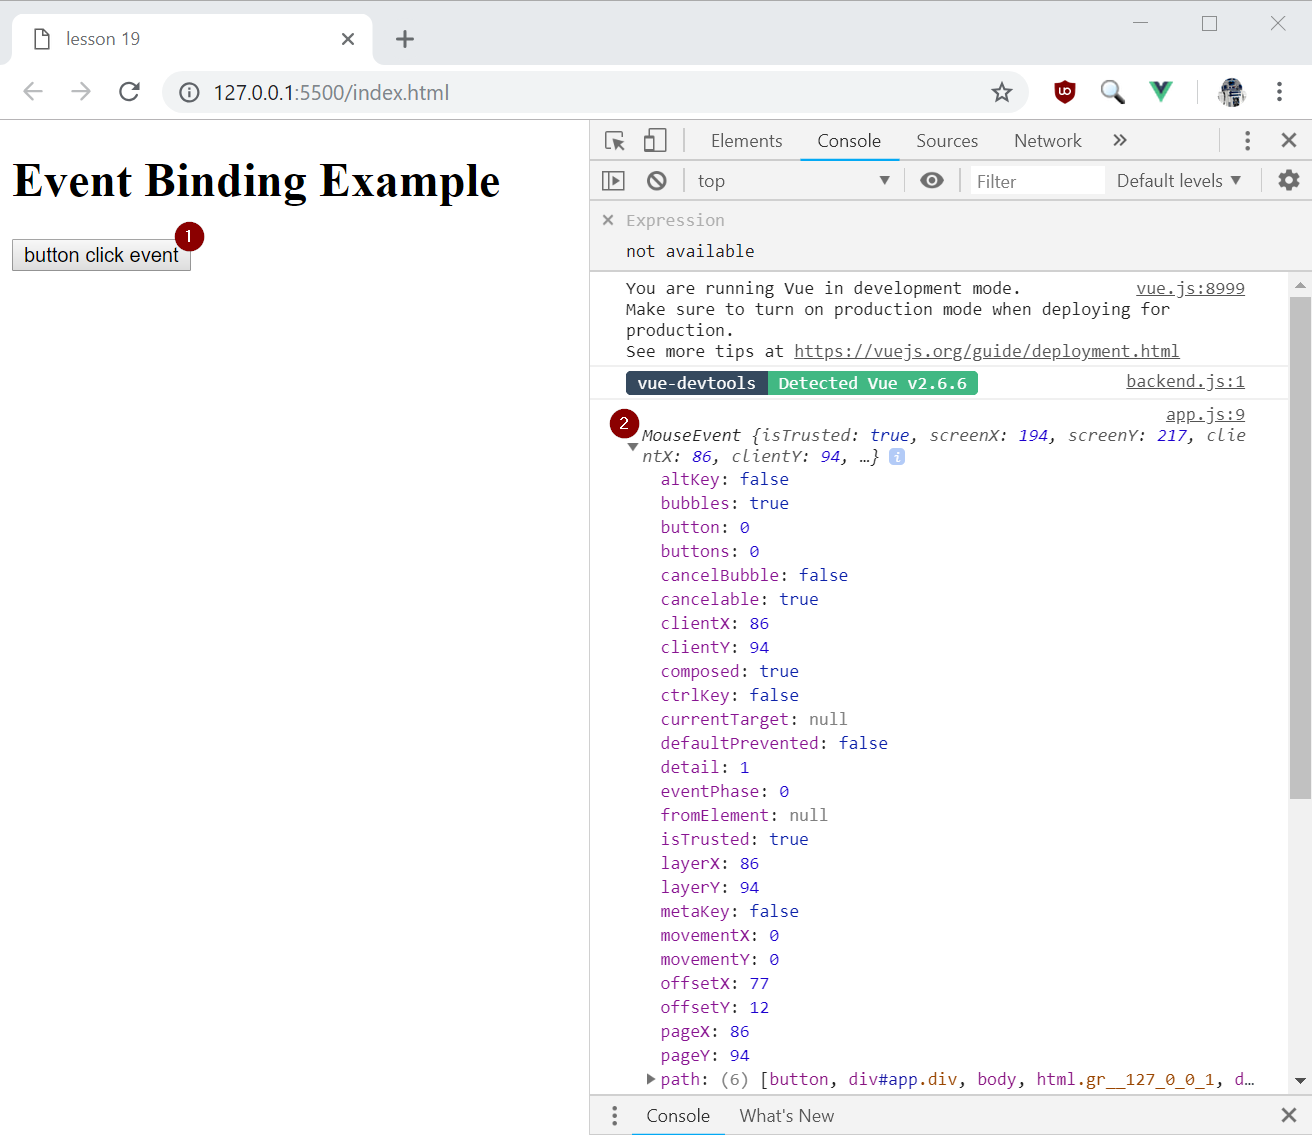
Lets try out our first event by logging the event details of a button click to the console.
- index.html
<button v-on:click="logEvent">button click event</button>
- the logEvent method doesn't exist yet, remember "logEvent" is JavaScript that will run.
- Add logEvent to the
Vueobjectmethods.
- Add logEvent to the
Vue({
    el: "#app",
    methods: {
        logEvent(event){
            console.log(event);
        }

# Keyup Event
- Add an input element that has an event for keyup, so we can capture each time the user types in a text box.
- input element with keyup event, we don't use the keypress event because it will occur before the keyboard press registers.
    <label for="#logEvent">Title:</label>
    <input id="logEvent" type="text" v-on:keyup="updateTitle">
* add method that updates our title data variable, which in turn will update the title on our page.
    updateTitle(event) {
        this.title = event.target.value;
    }
- Video Link v-on:click & v-on:keyup
- Length: 8:10 minutes
- Size: 31 MB
# Lets work with a more complicated HTML input element, date
First we will add an HTML element <input type="date"
<!DOCTYPE html>
<html>
<head>
    <meta charset="utf-8">
    <title>lesson 19</title>
    <script src="https://cdn.jsdelivr.net/npm/vue/dist/vue.js"></script>
    <script defer src="app.js"></script>
</head>
<body>
    <div class="div" id="app">
        <h1>{{ title }}</h1>
        <label for="#b-day">{{ bdaylabel }}</label>
        <input type="date" id="b-day" v-model:value="bday" ref="bday">
        <p></p>
        <input type="button" v-on:click="adddays(1)" value="+1 day">
        <input type="button" v-on:click="adddays(365)" value="+1 year">
        <input type="button" v-on:click="adddays(-1)" value="-1 day">
        <input type="button" v-on:click="adddays(-365)" value="-1 year">
    </div>
</body>
</html>
We have added 4 buttons, each with the job on increasing the date stored in our
input type="date"element.- the input type date displays for the user a way to enter dates, but it has a quirk, it expects a
stringJavaScript data type notdate. It also expects the date to be in the following formatyyyy-mm-dd. - We are adding an attribute
ref=""Vue.js ref documentation to our HTML element so that we can easily reference it later in our Vue JavaScript method.
- the input type date displays for the user a way to enter dates, but it has a quirk, it expects a
app.js
new Vue({
    el: '#app',
    data: {
        bday: '1999-11-01',
        bdaylabel: 'Birth Day:',
        title: 'Event Binding Example'
    },
    methods: {
        adddays(days) {
            let e = this.$refs.bday;
            e.stepUp(days);
        }
    }
});
- Because the input element has a
ref="bdaywe can call it inside our JavaScript method using this.$ref - We select our input date element using
this.$ref.bday, then we use a method on the input date element.stepUp()to increment the value of our date by a number of days.
- Video Link register a reference to an element
- Length: 4:10 minutes
- Size: 21 MB
# Conditionals
- Remember we started using Vue templates to control the output to the screen / html elements. Well now we are going to expand our templates with conditionals.
- Conditional is like in JavaScript
ifstatement. For example, lets control the visibility of an html element based on a Vue data variable. - lets start by adding a new boolean data variable named
showSubtitle
new Vue({
    el: '#app',
    data: {
        title: 'Vue.js Conditionals',
        showTitle: true
    }
});
- We will use a Vue directive called v-if in our html.
<h1 v-if="showTitle">{{ title }}</h1>
- The code that is in the "" quotes of the v-if= directive is evaluated as an expression that is considered to be either truthy or falsy. See the if (condition) test in JavaScript documentation .
- Lets add an input checkbox that shows or hides our title.
    <label for="#showTitle">show title</label>
    <input id="showTitle" type="checkbox" v-model:value="showTitle">
- The input checkbox does a 2 way bind to the data variable
showTitle. - So when the input checkbox changes the value of the variable
showTitleto false, then the html conditional v-if directive will not render the h1 element to the page. - Like regular JavaScript we can add a second conditional.
v-elseorv-else-if
    <h1 v-if="showTitle">{{ title }}</h1>
    <h2 v-else>Title2</h2>
- If the condition for v-if is false, the the v-else will show. You can learn more in the Vue documentaion.
- Video Link v-if conditionals
- Length: 3:00 minutes
- Size: 15 MB
# Loops
Looping through data and building our Vue elements.
- Start by adding an array to our Vue data.
new Vue({
    el: '#app',
    data: {
        title: 'To Do List',
        ToDoItems: ['Finish lesson 19', 'Feed the dog', 'Make dinner', 'Play a game']
    }
});
- Next lets add our html and use a new directive:
v-for - Example:
<li v-for="item in ToDoItems"></li> - This v-for directive will create a li element for each item in the array
ToDoItemsdata variable. - We can see from our code above there is 4 strings starting with
Finish lesson 19, so Vue will create 4 li elements (line items) - Heres our html
    <ol>
        <li v-for="item in ToDoItems">{{ item }}</li>
    </ol>
- Our page should look like this.
To Do List
- Finish lesson 19
- Feed the dog
- Make dinner
- Play a game
- You can find more detail at the Vue documentation
- Lets get more complicated and use an array og To Do objects, then we can bind a checkbox to a status boolean to show which items are done.
- index.html
    <!DOCTYPE html>
    <html>
    <head>
        <meta charset="utf-8">
        <title>lesson 19</title>
        <script src="https://cdn.jsdelivr.net/npm/vue/dist/vue.js"></script>
        <script defer src="app.js"></script>
    </head>
    <body>
        <div class="div" id="app">
            <h1>{{ title }}</h1>
            <ol>
                <li v-for="item in ToDoItems"><input type="checkbox" v-model:value="item.status">{{ item.title }}</li>
            </ol>
        </div>
    </body>
    </html>
- app.js
    new Vue({
        el: '#app',
        data: {
            title: 'To Do List',
            ToDoItems: [{
                title: 'Finish lesson 19',
                status: true
            }, {
                title: 'Feed the dog',
                status: false
            }, {
                title: 'Make dinner',
                status: false
            }, {
                title: 'Play a game',
                status: false
            }],
        }
    });
- Video Link v-for
- Length: 6:08 minutes
- Size: 20 MB
# Recommended Chrome Extension for debugging: Vue.js devtools
https://chrome.google.com/webstore/detail/vuejs-devtools/nhdogjmejiglipccpnnnanhbledajbpd?hl=en
# Assignment due for discussion next class and checked into GitHub by the Monday after that.
- Create a new repo called lesson19
- Copy the project you started in Lesson 16, convert it to Vue.
- Use input controls and Vue.js directives: v-if, and v-on for events in your app.
# Example Upgrade of an App to Vue
We are going to use https://github.com/mhintegrity/Tic-Tac-Toe-Pro for our example upgrade.
Add Vue references to the html page
Inside the head tag add a reference to Vue<script src="https://cdn.jsdelivr.net/npm/vue/dist/vue.js"></script>Wrap all the html inside the body tag in a div tag
<div id="app">
    <h1>Tic Tac Toe Pro</h1>
    <div class="board">
    ...
</div>
Upgrade the button tag event calls
- Original
index.html
<button onclick="ResetGame();"- New
index.html
<button v-on:click="ResetGame"- In the original we called a JavaScript function named ResetGame(), we are now calling a methods function by the same name. See section 5 for the move of JavaScript function to methods in the new Vue code.
- Original
Use Vue templates to update the screen XWins and Total Times.
- Original
index.html
<h3 id="XWins">X has won 0 total times.</h2> <h3 id="OWins">O has won 0 total times.</h2> <h3 id="TieWins">Tied games 0 total times.</h2>- New
index.html
<h3 id="XWins">X has won {{ gameState.XWinCount }} total times.</h2> <h3 id="OWins">O has won {{ gameState.OWinCount }} total times.</h2> <h3 id="TieWins">Tied games {{ gameState.TieWins }} total times.</h2>- Original
Upgrade our JavaScript main.js file to a Vue instance.
- Original
main.js
let gameState = {};- New
main.js
var vm = new Vue({ el: '#app', data: { gameState: {} },- The
el: '#app'references the newdiv id="app" - The
gameState: {}replaces the local variablegameState - Next we will add a new instance lifecycle hook section, that we have not yet covered. Basically there are methods that will run at different times while the app/page runs. You can see a diagram of when these functions run on this page: https://vuejs.org/v2/guide/instance.html#Lifecycle-Diagram
- New continued
main.js
mounted: function() { // Vue instance's lifecyle that runs after an instance is mounted. this.InitializeBoardState(); },- We use the keyword
thiswhen referencing functions on the sectionmethods - Transport all of our old JavaScript functions to section
methodsproperties/function - New continued
main.js
methods: { InitializeBoardState: function() { this.LoadBoardState();- All internal function call references now need to start with a
thisreference so that they call the methods functions.
- Original
